Overview
Color correction can come in extremely handy when working with different lighting conditions. It's mainly used to make the lighting and color space of a scene more natural. In this example we will make the sunflower look more like it does in person.
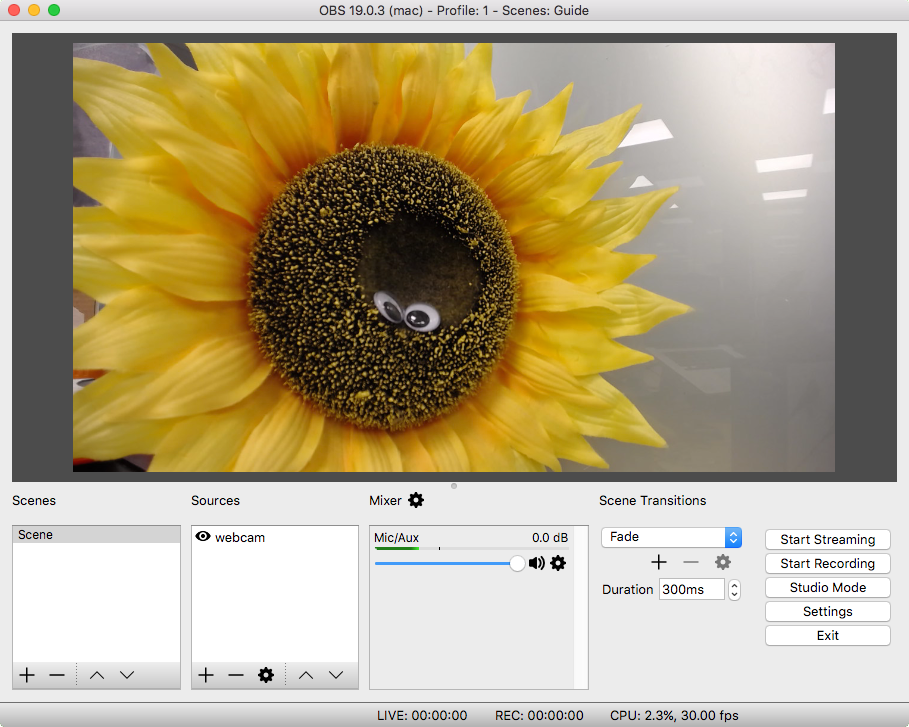
1. Add a video source
Effects filters can be used on any video layer. In this instance we’re applying the color correction filter to a webcam.
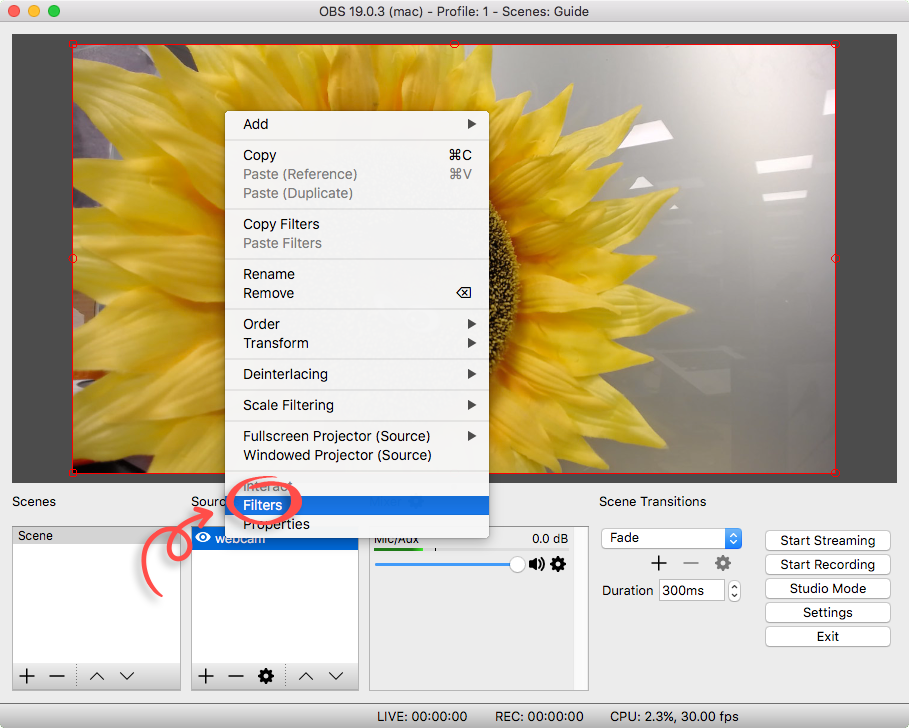
2. Select 'Filters'
Right click on the layer you wish to apply a filter to then select ‘Filters’.
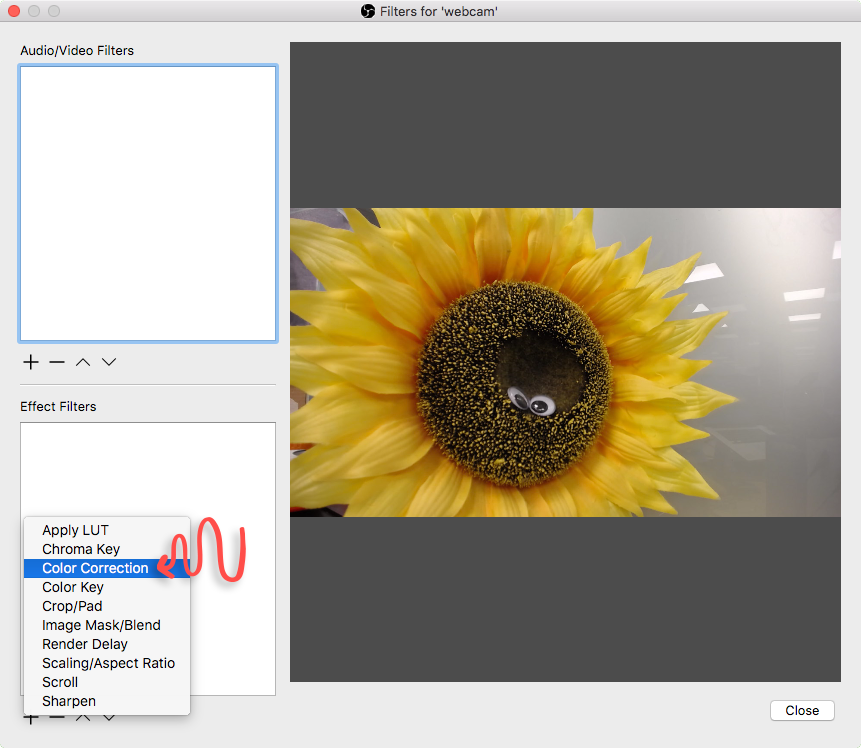
3. Select 'Color Correction'
Click the ‘+’ icon located under the ‘Effects Filters’ section. Select the ‘Color Correction’ option. Label it something descriptive.
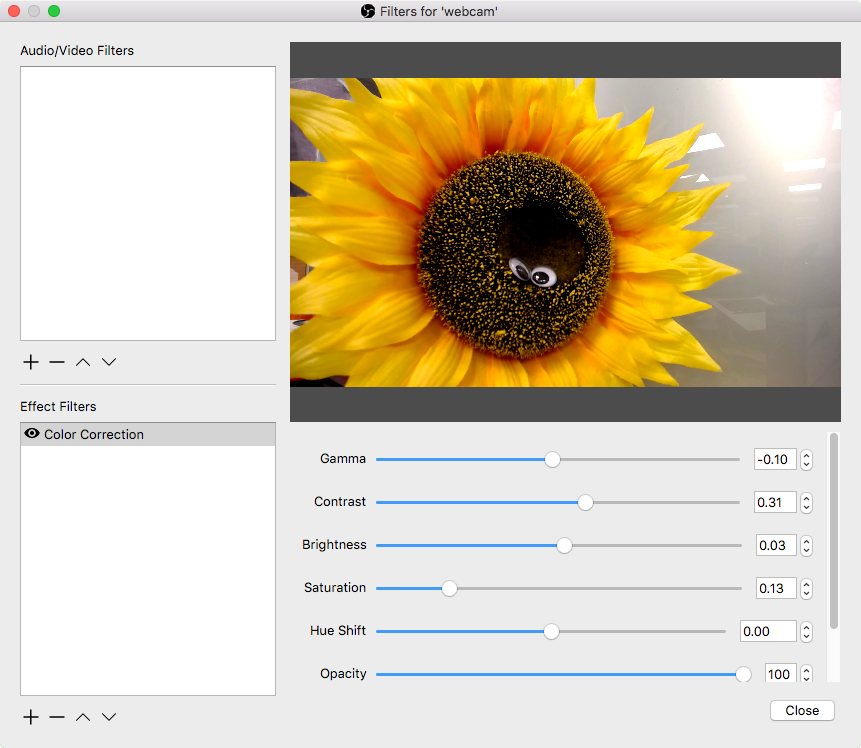
4. Edit the color correction values
When it comes to color correcting you first need to decide exactly what you want to do. For example, you could make skin tones look more natural.
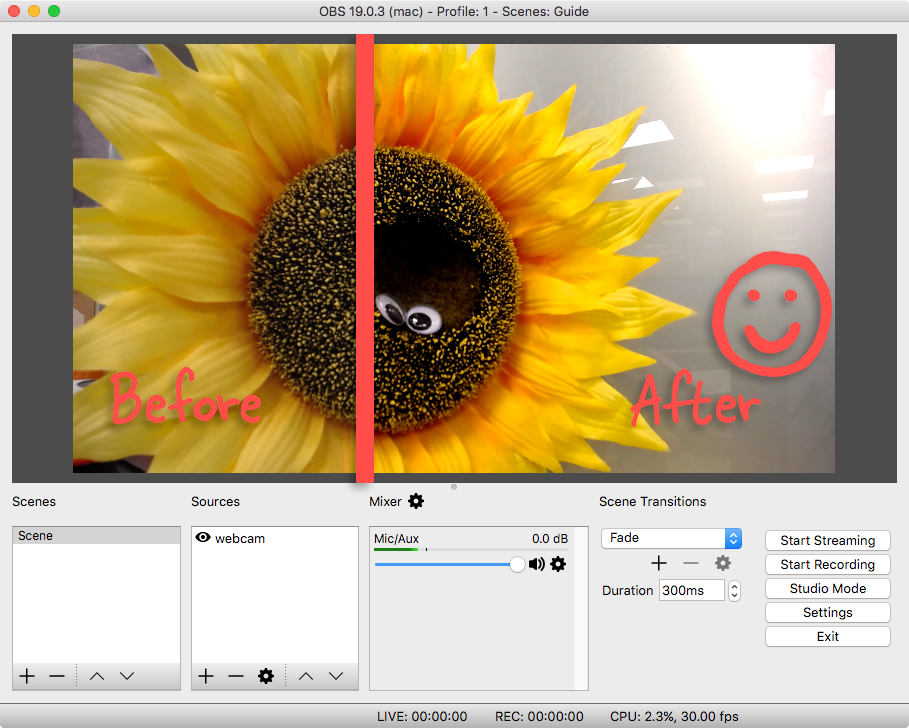
In our example we’ve made the sunflower look more natural and less washed out. This was achieved by adjusting the gamma, contrast, brightness and saturation levels.
Done!
The unaltered video source was washed out and dull. With the aid of color correction, we’ve made the video much more vibrant and colorful.