Overview
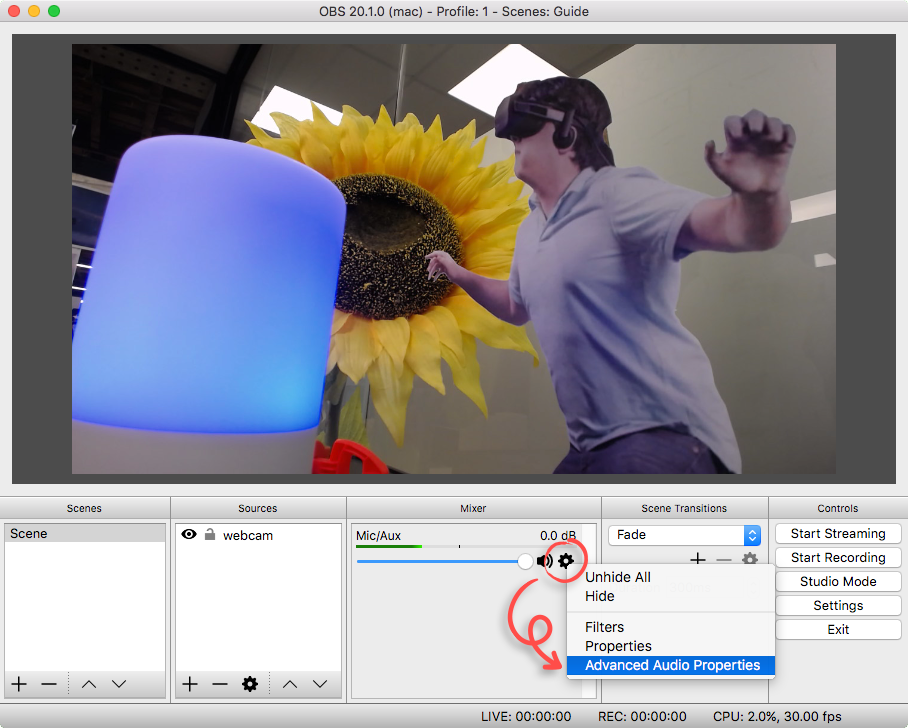
In some instances you might need to add an audio delay to sync up the video from a camera with a microphone input. It’s actually quite simple to do, however the option to add an audio delay isn’t very prominent in OBS. In this guide we’ll show you how to do it.
Done!
You can now add a delay to any audio source.
Recommended Approach:
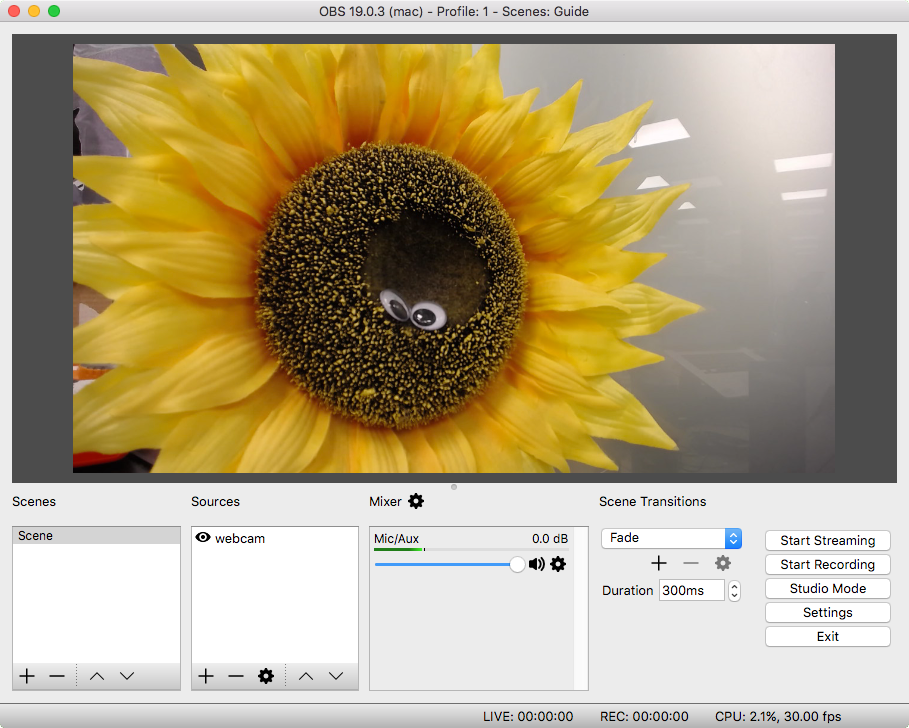
- First, fire up your webcam and microphone. You should see the video output in the main screen of OBS.
- Start Recording your stream locally. In other words, DO NOT START live streaming.
- Perform a short bit by speaking slowly into the camera so you can watch your lip-sync closely later. Clapping your hands is another good technique to dial in the sync.
- Watch the recorded video to get a sense how far off the sync is. Most likely, you will hear the audio first, and then see the video catch up. It’s tricky at first to tell which way the sync is messed up (sometimes the video comes first and the audio is behind). But you will get the hang of it.
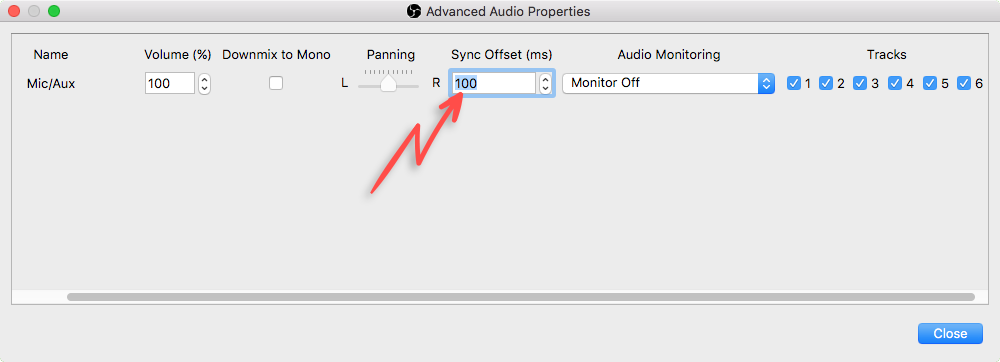
- Adjust the Audio Delay for your specific mic by adding a number of milliseconds. Start with 30ms.
- Record another video and check the sync again.
- Repeat this process until you can not notice any sync problems. Use 30ms increments when adjusting. For instance, if on the first try 30ms did not fix the sync, next time try 60ms, then 90ms, etc.
- Last, you can also adjust the Video Delay in OBS v20+. Same principle applies here, too. Adjust small amounts, record, check, repeat.
When you are all done, you are ready to live stream. OBS will remember your delay settings for the next broadcast. But it is good practice to occasionally recheck as your audio/mic setup may have changed in your studio, your computer may have upgraded to newer software, and so on.


