QuickTime Player ユーザガイド
- 「ファイル」>「新規オーディオ収録」の順に選択します。
- 収録設定を変更するには、収録ボタンの横にある矢印をクリックし、マイクや収録品質を選択します。
- 収録中に音声を調整するには、音量スライダを使います。
- 収録ボタン
 をクリックして、収録を開始します。もう一度クリックすると、収録が停止します。
お知らせ - MacにはM1&インテルのアーキテクチャモデルが追加されました。M1 MacBook ProなどのAppleシリコン搭載のMacは、iOSアプリとMacアプリの両方を実行できますが、ロゼッタ2と呼ばれるもののおかげで、Intelアーキテクチャで動作するように構築されたx86-64ソフトウェアを実行することもできます。
Step 1 - Hardware checking on your macOS
Notice - To use Audacity on your macOS, always to make sure the USB-Audio-Grabber is plugged on your mac's USB port, and Audacity software is not open.

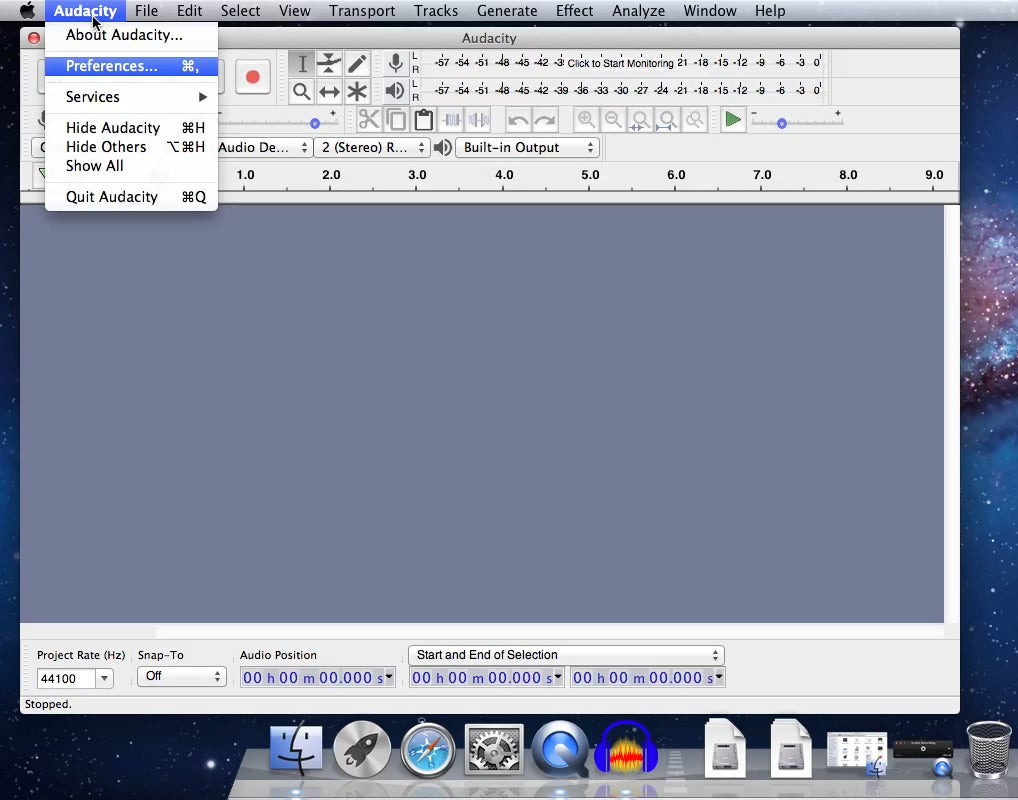
Step 2 -Open Audacity & make necessary Settings.
Make sure your hardware is fine, then we need to configurate the Audacity before using it recording audio. Click "Audacity" ---> "Preference"
2 - 1 Devices settings
Select "Devices" and make proper settings for "Playback" & "Recording / Device:". Here USB PnP Audio Device is the correct setting.

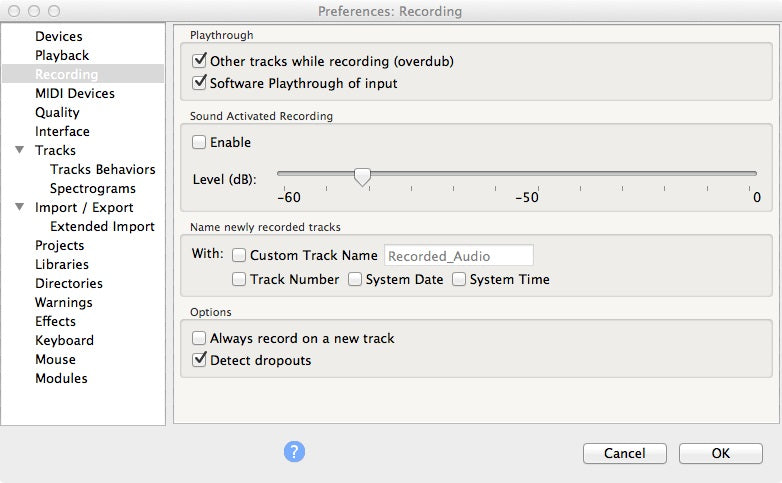
2 -2 Recording settings
At Recording please do choose "Software Playthrough of input", otherwise you can not hear the audio while recording.
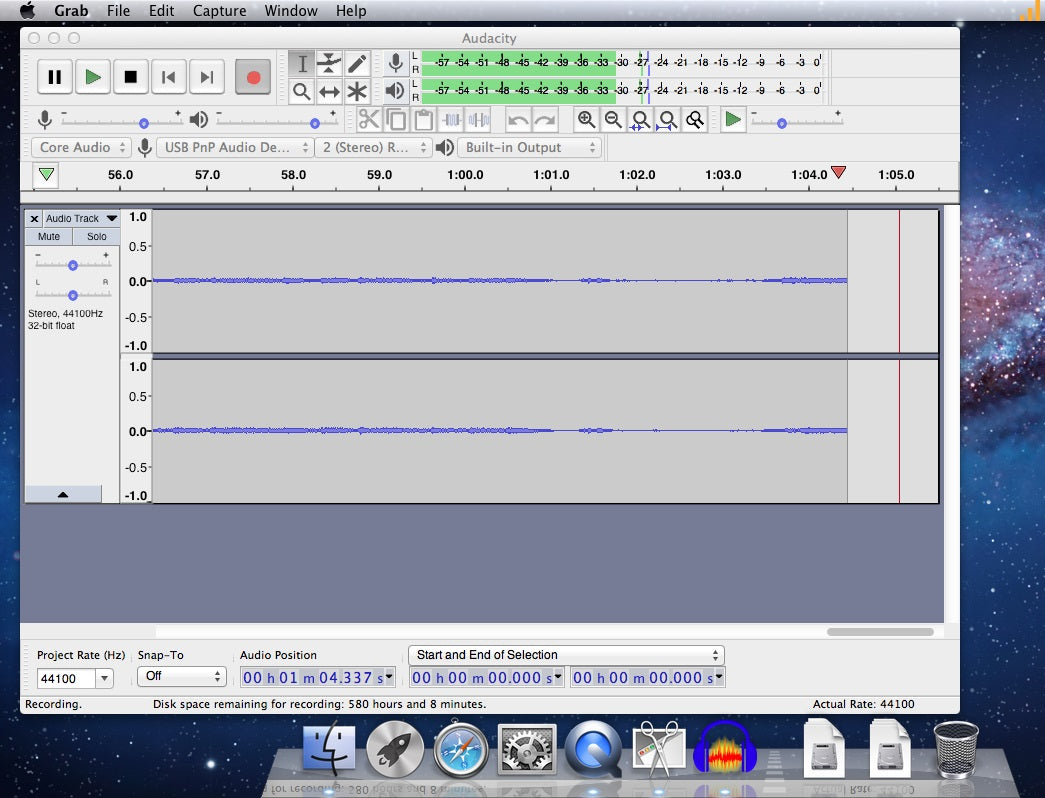
3 - Start Recording
After the correct settings, you can find MIC Source, Stereo Recording, Built-in Output are well selected.

Now we just click the Red Record button ( ![]() )to start audio recording.
)to start audio recording.