>> Return to Purchase AV202-B
Notice - Mac has M1 & Intel architecture model now. Macs powered by Apple silicon, such as the M1 MacBook Pro, can run both iOS apps and Mac apps, but they can also run x86-64 software that's been built to work on Intel architecture, thanks to something called Rosetta 2.
Step 1 - Hardware checking on your macOS
Notice - To use Audacity on your macOS, always to make sure the USB-Audio-Grabber is plugged on your mac's USB port, and Audacity software is not open.

Step 2 -Open Audacity & make necessary Settings.
Make sure your hardware is fine, then we need to configurate the Audacity before using it recording audio. Click "Audacity" ---> "Preference"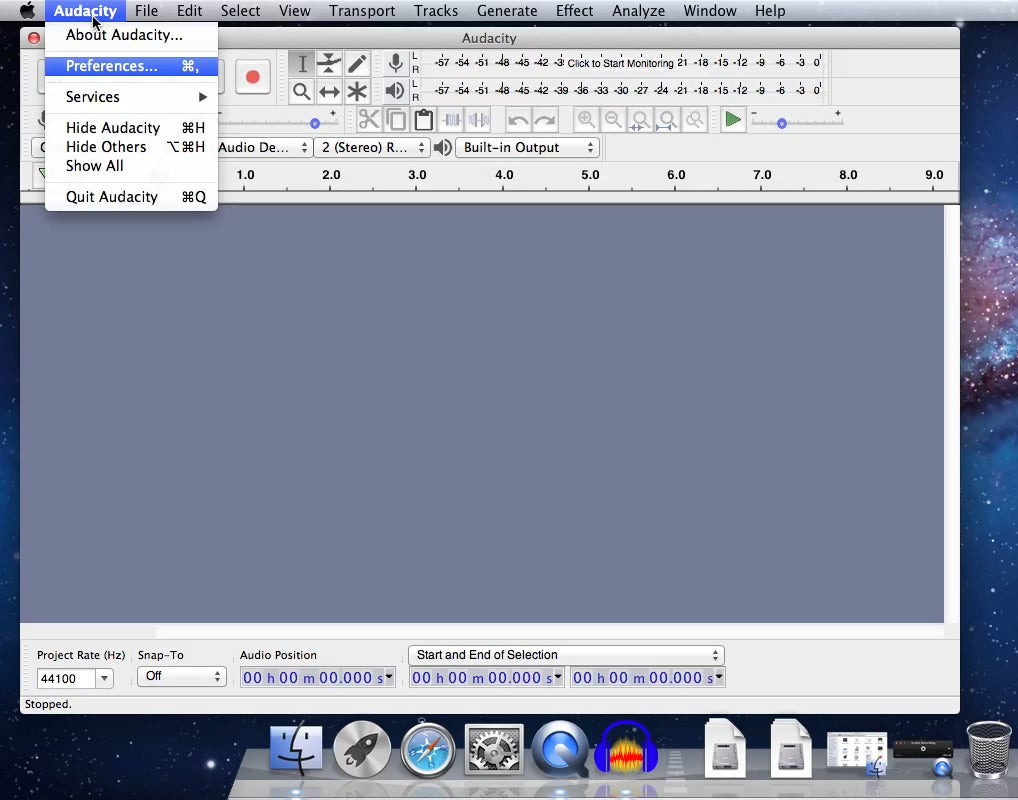
2 - 1 Devices settings
Select "Devices" and make proper settings for "Playback" & "Recording / Device:". Here USB PnP Audio Device is the correct setting.
2 -2 Recording settings
At Recording please do choose "Software Playthrough of input", otherwise you can not hear the audio while recording.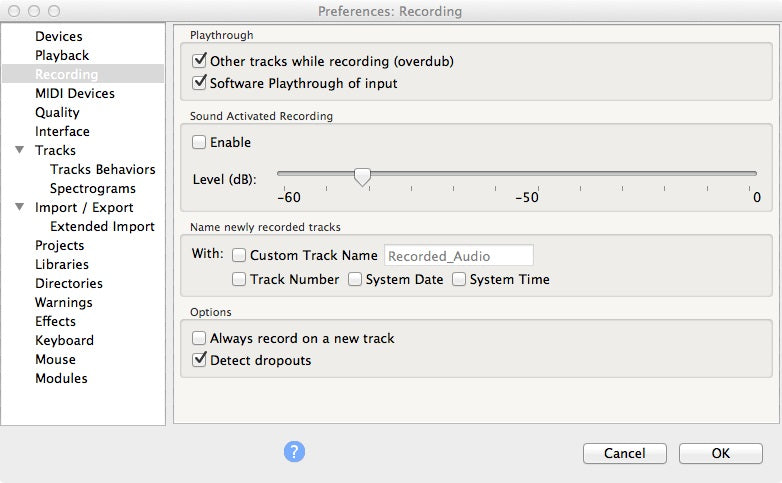
3 - Start Recording
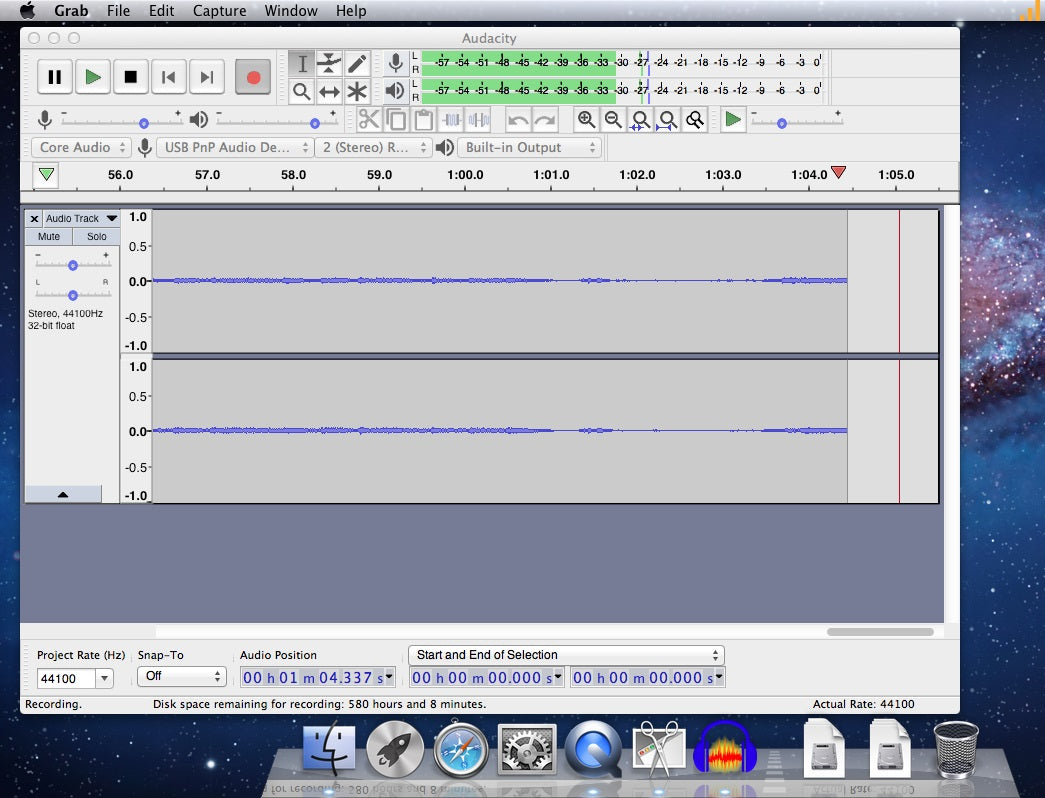
After the correct settings, you can find MIC Source, Stereo Recording, Built-in Output are well selected.

Now we just click the Red Record button ( ![]() )to start audio recording.
)to start audio recording.
Reording by QuickTime Player
QuickTime Player.supports Audio Recording as well.
- Choose File > New Audio Recording.
- To change the recording settings, click the arrow next to the Record button. Then choose your microphone and recording quality.
- To monitor audio while it's being recorded, use the volume slider.
- Click the Record button
 to start recording. Click it again to stop recording.